
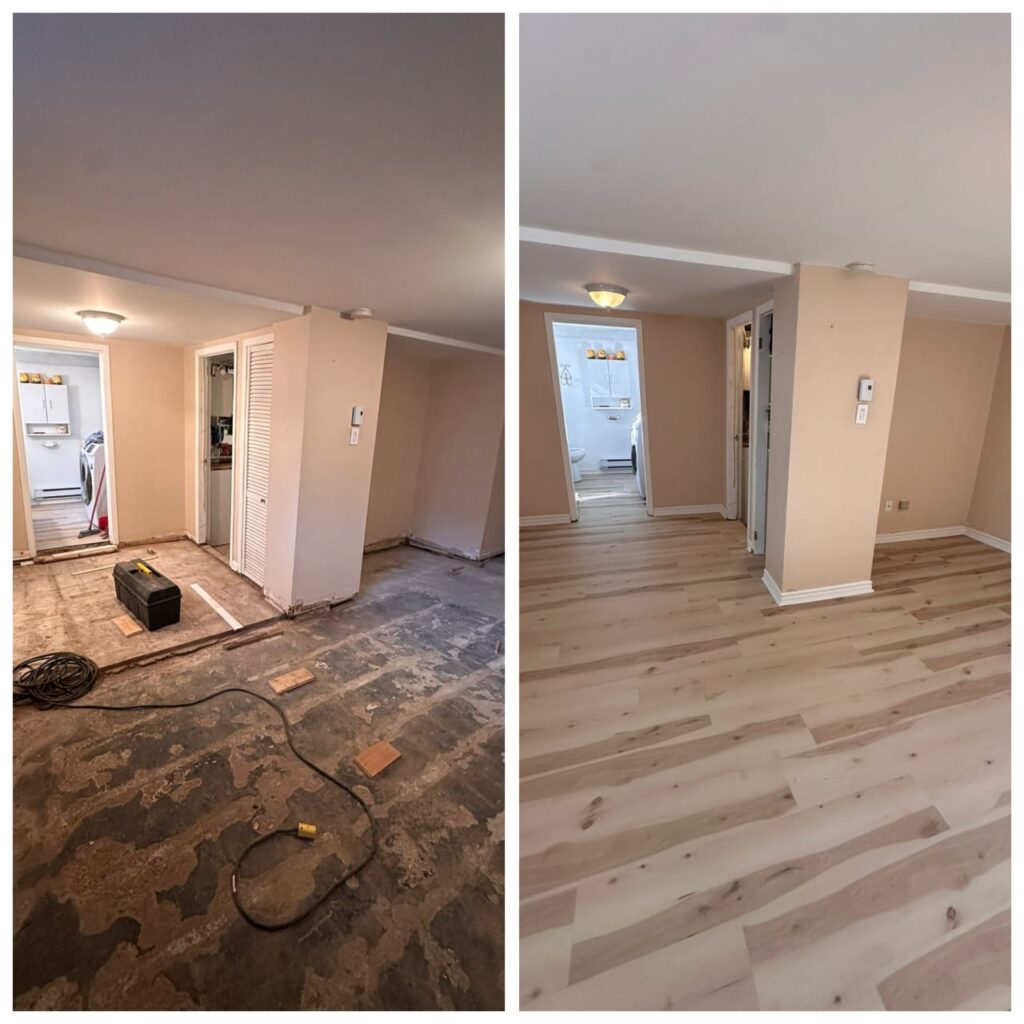
Vinyl flooring base preparation is one of the most important steps when installing vinyl flooring in a basement. A stable, dry, and perfectly level base increases the durability of the flooring, improves walking comfort, and reduces moisture-related problems.
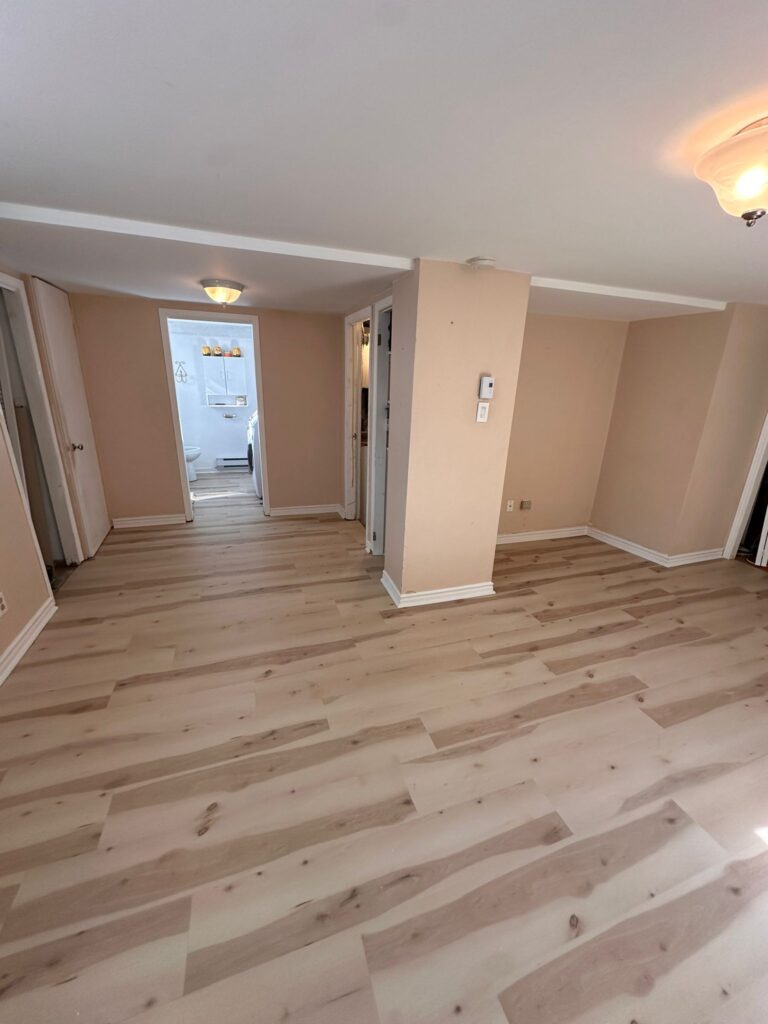
At Sobek Construction, we recently completed a vinyl flooring base preparation project in a basement in Montreal. Here are the different steps that allowed us to achieve a durable, stable, and professional result.
Why vinyl flooring base preparation is essential
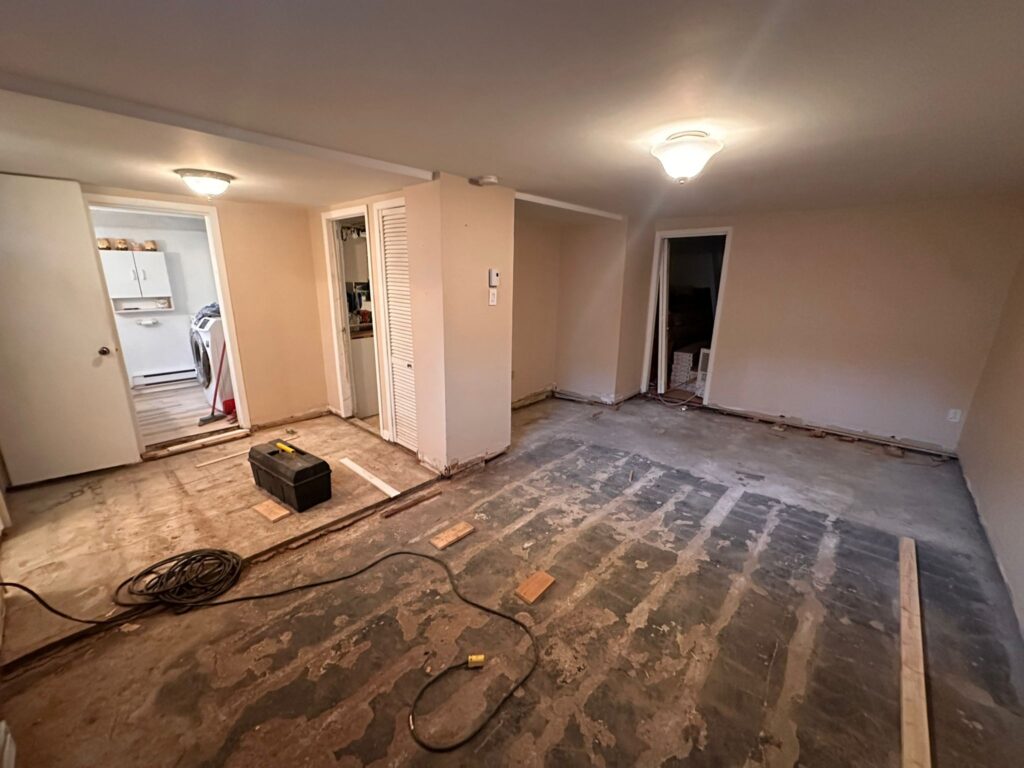
Before installing any flooring, it is essential to correct concrete irregularities and create a structure capable of supporting the finished floor.
A proper vinyl flooring base preparation helps to:
- Improve thermal insulation;
- Limit the effects of moisture;
- Create a perfectly level surface;
- Increase the lifespan of the flooring;
- Improve comfort and floor stability.
According to industry best practices, moisture control is one of the most important factors when finishing a basement.
In addition, Société canadienne d’hypothèques et de logement (SCHL) considers moisture control an essential element in basement finishing to prevent mold growth, material deterioration, and indoor discomfort. Proper base preparation helps protect the flooring and the entire structure over the long term.
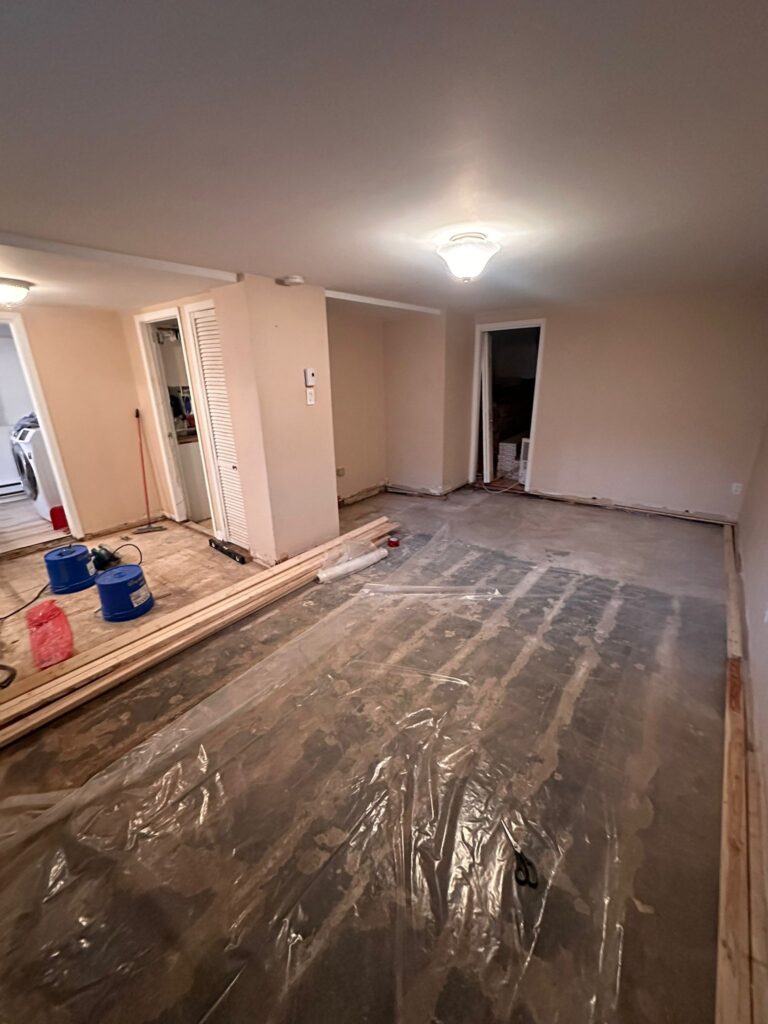
Step 1: install an insulating membrane on the concrete slab
The first step in vinyl flooring base preparation is installing a plastic insulating membrane directly over the concrete slab.
This membrane acts as a moisture barrier and protects the materials that will be installed afterward.
Step 2: install wood battens for vinyl flooring base preparation
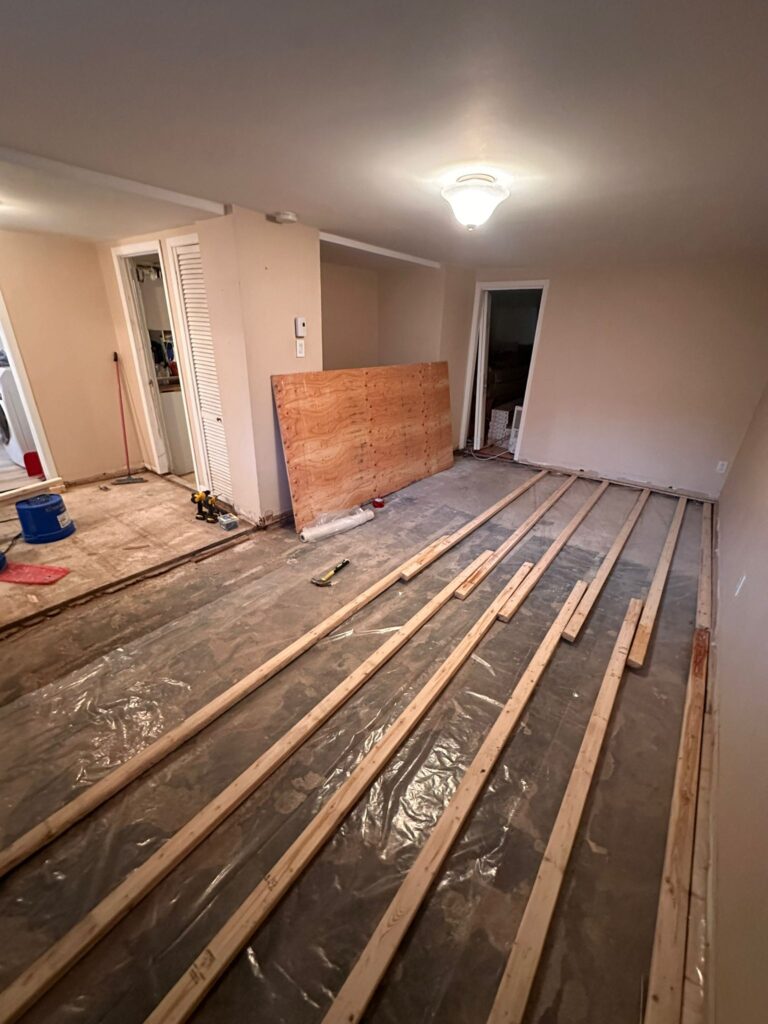
Once the membrane is installed, wood battens are placed across the entire surface.
The battens are spaced evenly to provide uniform support for the plywood and distribute loads consistently across the floor.
This structure directly contributes to the quality of the vinyl flooring base preparation.
Step 3: install the first plywood layer for vinyl flooring base preparation
After the battens are installed, a first layer of plywood is placed over the structure.
The panels are secured using special headless screws. Once installed, these screws sink into the plywood to create a smooth and even surface.
This method improves the strength of the vinyl flooring base preparation and makes the installation of the final flooring easier.
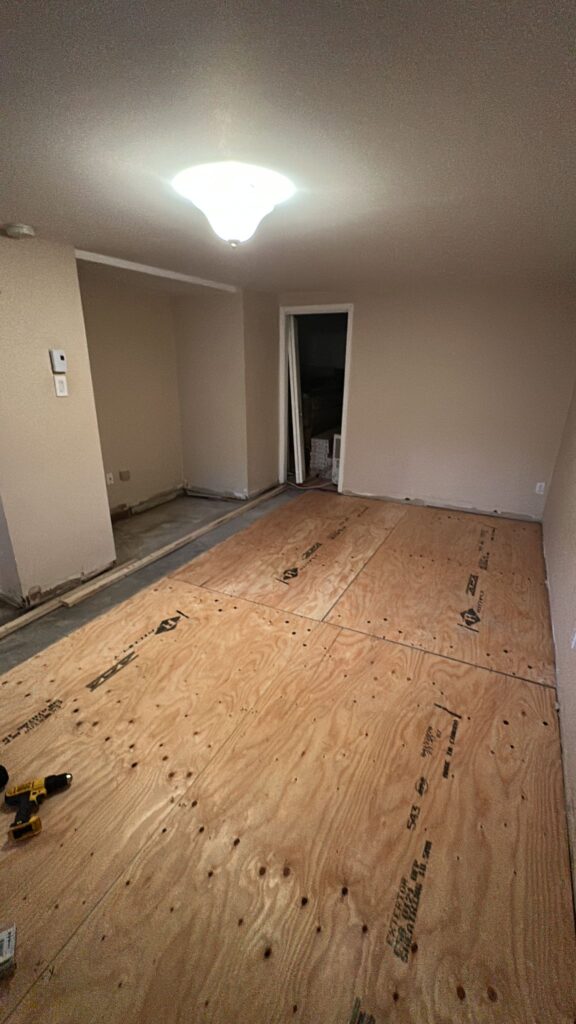
The role of headless screws in vinyl flooring base preparation
Headless screws play an essential role in this type of installation. Unlike traditional screws, they sink completely into the plywood and create a perfectly smooth surface.
This technique reduces the risk of irregularities under the vinyl flooring and improves the quality of the final result.
Step 4: level the floor with a second plywood layer
In this project, the floor level required additional correction.
A second layer of plywood was added to create a perfectly level surface ready for the final flooring installation.
Both layers were assembled using the same special headless screws, creating a rigid and durable base.
This vinyl flooring base preparation technique is especially effective when the basement has variations in floor level.
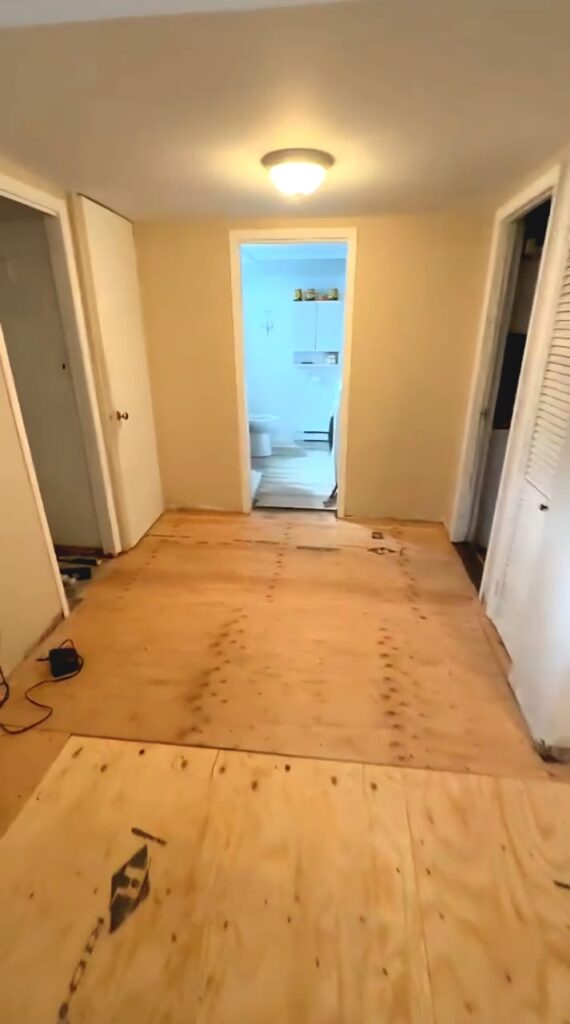
Why add a second plywood layer
When the surface has noticeable level differences, a single plywood layer may not be enough.
Adding a second layer helps correct imperfections in the substrate and ensures better stability for the future vinyl floor.
Step 5: add a second insulating membrane and install the vinyl flooring
Before installing the final flooring, a second insulating membrane is added over the plywood.
This additional layer improves insulation, reduces sound transmission, and contributes to overall floor comfort.
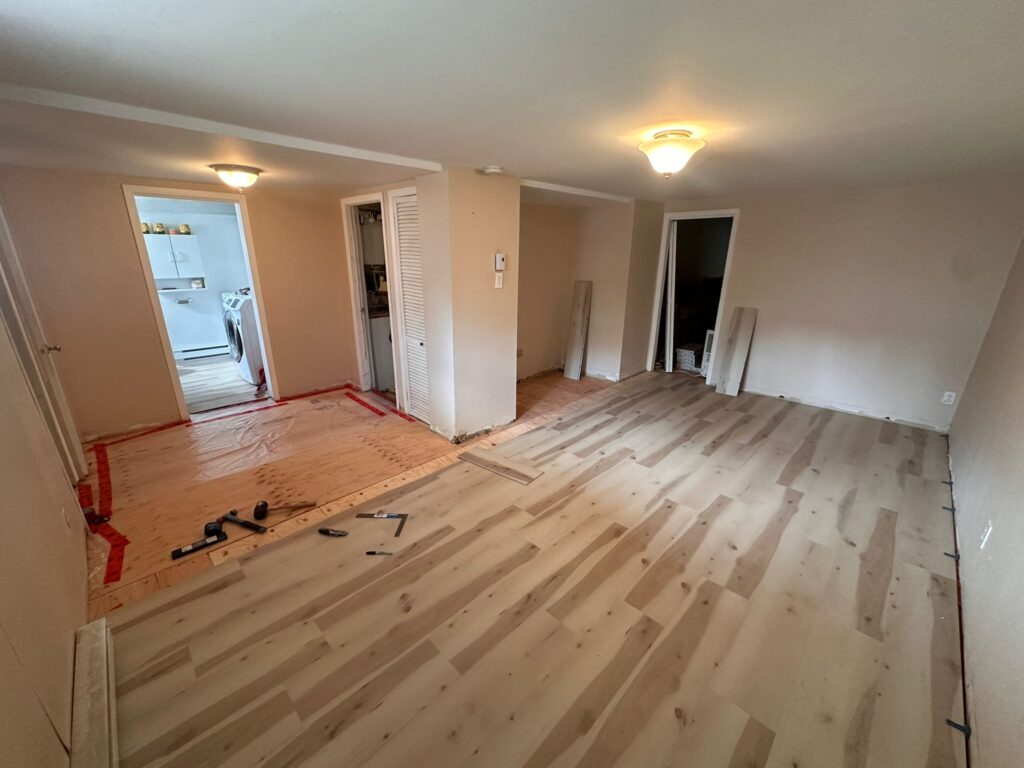
The vinyl flooring is then installed on this carefully prepared surface.
The result is a more stable, better insulated, and more durable floor.
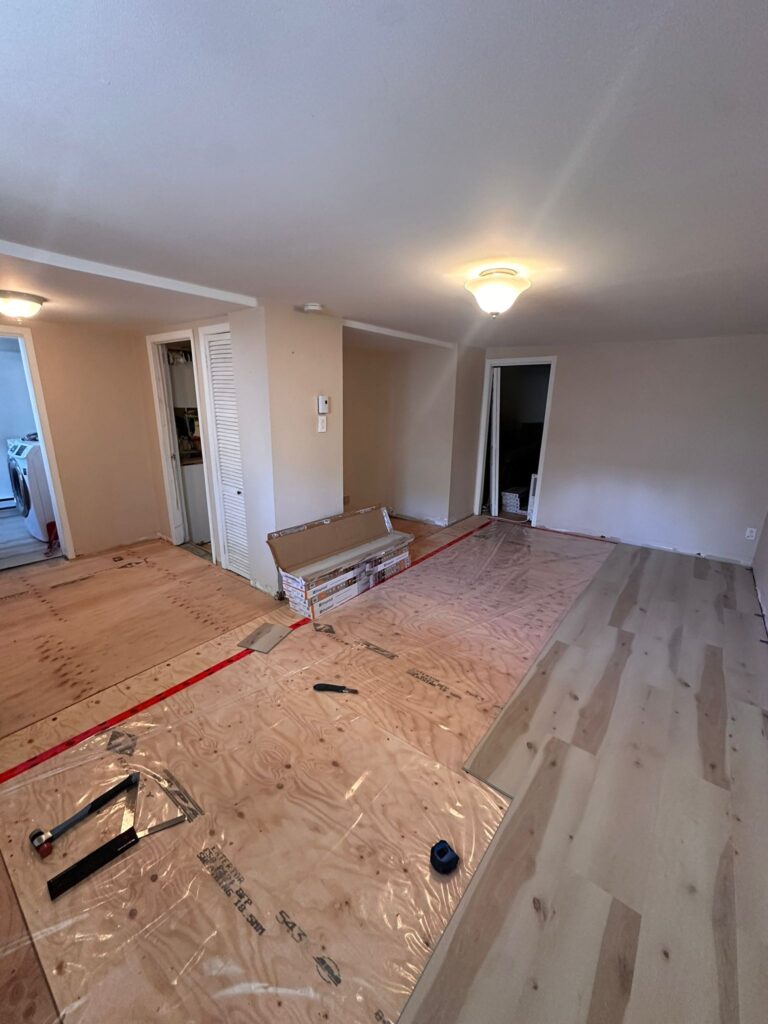
The benefits of an insulating membrane under vinyl flooring
An insulating membrane improves floor comfort, helps limit moisture migration, and enhances the overall performance of the installation.
In Montreal basements, this step is often key to ensuring the long-term durability of the flooring.
Why choose Sobek Construction
At Sobek Construction, we pay close attention to every step of vinyl flooring base preparation.
Our goal is to create strong, durable foundations that ensure the flooring performs well for many years.
Whether you want to renovate a basement, replace an old floor, or improve your home’s insulation, our team is ready to help.
Request your free estimate
Do you have a basement renovation or vinyl flooring installation project?
Contact Sobek Construction today to receive a free estimate and personalized advice for your project.
Contact us: 514 7974438